This time of year, many teachers are reflecting on the systems and routines they used over the last year in their classrooms. Maybe this was the year you found the perfect system for keeping your middle school students organized. Or maybe, like so many teachers, you’re still looking for that unicorn of a system.
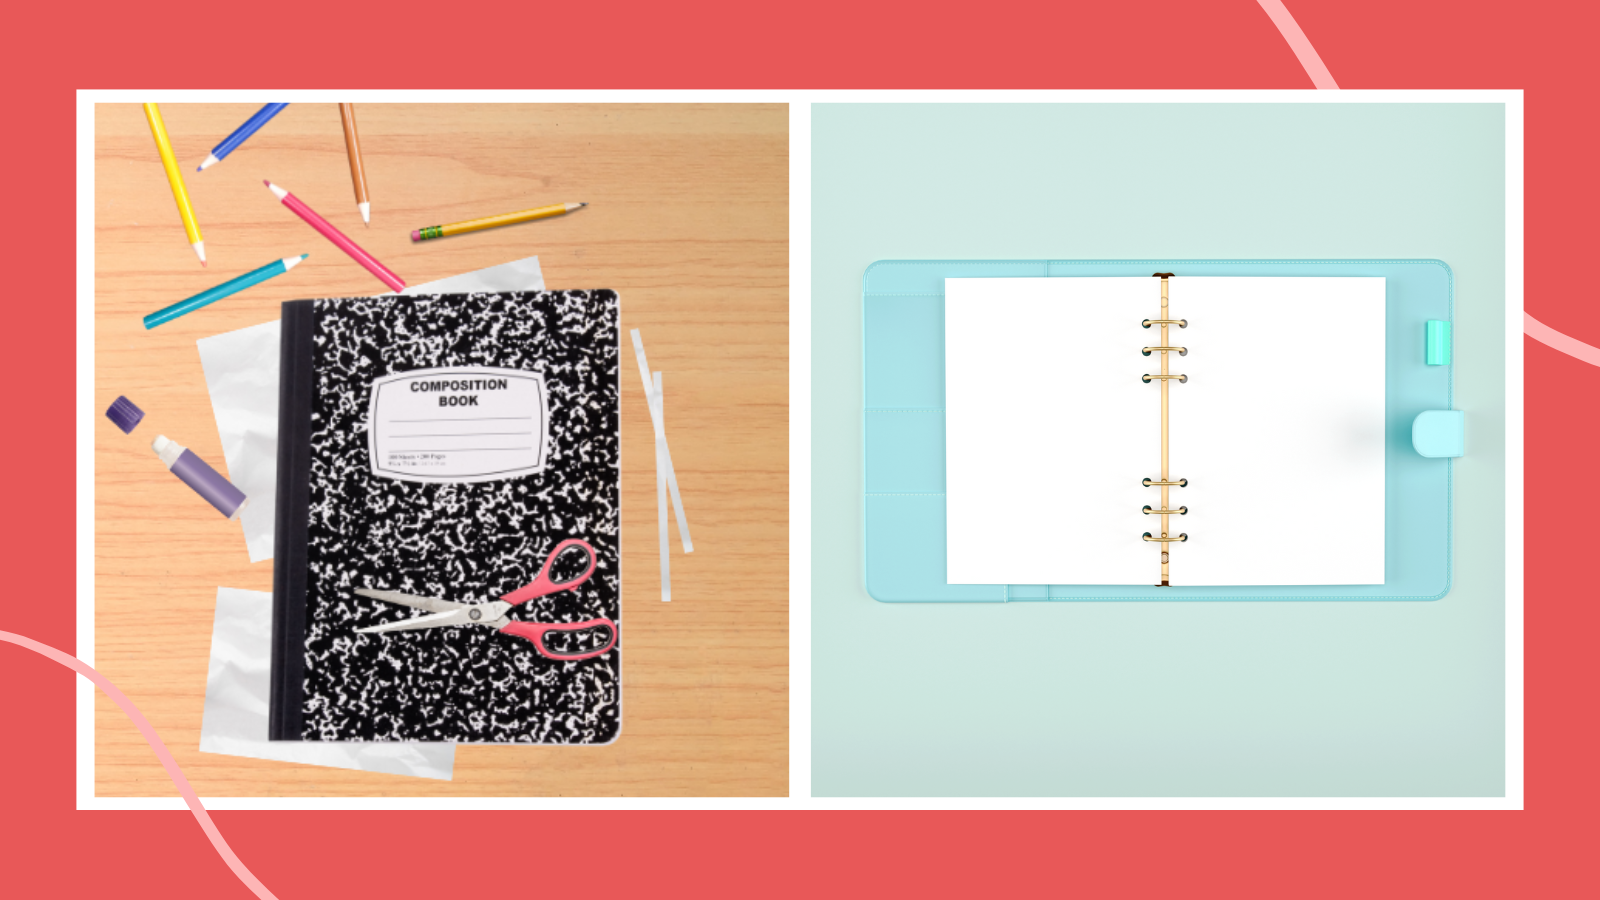
Interactive notebooks are a popular choice to fill this role, and for good reason. A Google image search for “interactive notebooks” brings up pictures of colorful foldables securely stored in composition books. At first glance, they are a beautiful way to organize information. And if you have been lucky enough to have a positive experience with interactive notebooks in your class, more power to you! However, my attempt to bring interactive notebooks to my middle school science classroom was less than picture-perfect.
Going into my fifth year in the classroom, I’ve finally honed in on a system that works for me. If you’re one of the many educators searching for a new organizational system for your students this summer, maybe this will be the one that works for you too!
What is an interactive notebook, anyway?
A traditional interactive notebook is exactly what it sounds like: a way for students to both record notes and interact with the academic content, all within the binding of a single notebook. For a comprehensive look at the system and its variations, check out this article.
In a nutshell, a traditional interactive notebook reserves one side of the notebook (i.e, all left-hand pages of an open notebook) for teacher-generated material. Think copying notes or recording lab data. The left-hand pages are left blank until it is time for students to further interact with the content. This may include creating flow charts or diagrams, completing practice problems, or responding to thought-provoking questions. You can check out an example of this format here.
Many of the interactive notebook templates you’ll find on social media or TpT have abandoned the right-side/left-side method in favor of paper templates that are cut out and glued or taped into the notebook. These can vary dramatically in complexity. Some are simply charts or guided notes, while others are multi-flap foldables or pockets for paper manipulatives. In these “modern” interactive notebooks, the interaction comes more so from the act of adding and manipulating the template, rather than synthesizing academic content provided by a teacher or text.
Why use interactive notebooks?
As a first-year teacher exploring options for helping my middle school students stay organized, interactive notebooks seemed like a no-brainer. All of their papers would be held in one notebook that could be stored in the classroom. I could provide scaffolded notes to set my students up for success. Not to mention the papers were so cute that even the most surly middle schooler would certainly be charmed! Enamored with the interactive notebooks I saw on Pinterest and Instagram, I added class sets of safety scissors and glue sticks to my district-funded shopping list. I cleared the shelves of composition books at Staples’ back-to-school sale. I was ready to be an interactive notebook queen.
Then, reality set in …
While my interactive notebook journey started better than it ended, it was never quite the magical experience I’d built it up to be.
My biggest problem was the time it took my students to cut and glue templates into their notebooks. I tried setting timers, playing songs and telling them to finish by the end, or helping them cut. In my experience, there is always a straggler, creating idle time and a management challenge with my remaining students. By the time everyone was finished, I was in such a rush to get us moving that cleanup became a secondary concern. By the end of the day, my floors were littered with paper scraps and the tables were always unpleasantly sticky. (On second thought, that may not have been related to the interactive notebooks, but I’m choosing to tell myself that all of the unidentified gummy substances I touched that year were glue. It’s better than imagining the alternatives.)
For students who were absent, cutting and gluing the sheet became another step in trying to get caught up. Long story short, I could never justify spending my precious class time adding the templates to their notebooks, and I gradually began using them less in favor of loose-paper handouts. Of course, these frequently were misplaced, which was a big reason I’d looked for a system like notebooks in the first place. I was growing increasingly frustrated when an unexpected plot twist put my notebook problem on hold.
What I tried, Round 1: COVID “interactive” notebooks
That’s right folks, my first year of teaching was abruptly interrupted by the arrival of the COVID-19 pandemic. For the remainder of the year, students’ notebooks collected dust in my classroom as we attempted to navigate the tumultuous landscape of virtual learning. When we returned in the fall with hybrid instruction, I was in need of an alternative, digitized system to support student organization.
What I tried, Round 2: The DIGITAL interactive notebook
This was basically a Google Slide presentation (but with the background set to look like notebook paper—so clever!) to which I added slides throughout the course of the unit. The activities on the slides were mostly notes that summarized our lessons, but I also embedded relevant videos and GIFs I wanted students to refer back to. The digital notebook was an improvement over the paper for several reasons, notably:
- No need for cutting and gluing
- Impossible to lose (provided the student could find their computer)
- Ability to include digital content, such as videos, GIFs, and links to simulations
- Embedded links to slides within the presentation allowed students to quickly navigate between notebook “pages”
- Using the “Slip in Slide” Google chrome extension made adding new slides quick and easy
If you have a tech-based classroom and your students do the majority of their work on devices, this could be your secret sauce! I truly felt the digital notebook was an improvement over the paper one and happily used the system for the year of hybrid instruction. However, I am a pencil-and-paper girl to my core. When we got the green light to return to physical handouts the following year, I was ready to give a paper-based system another go.
What I tried, Round 3: The binder system
It seems odd to think of a binder as a groundbreaking discovery, since I’d used them for the better part of my own school career. But for some reason, I hadn’t yet considered them as a serious option for my students.
At the start of the 2021-22 school year, each of my students set up a binder with three sections, separated by card stock tab dividers for Current Unit, Labs, and Notes. If a student organized their binder as suggested, they would open it to see a table of contents. Behind the first tab divider were all of the resources related to our current science phenomenon. The second tab was for lab-related pages, and the third for notes (this was my doodle notes era!). This past year I dropped the dividers and will be bringing them back in a slightly different format for the upcoming year.
Overall, this is by far the best system I’ve used. Students can place hole-punched copies directly on the rings, with no need for cutting and gluing. Instead of the left-right format, the opportunities to synthesize and interact with the content are built into the handouts. These are some examples from my thermal energy unit:
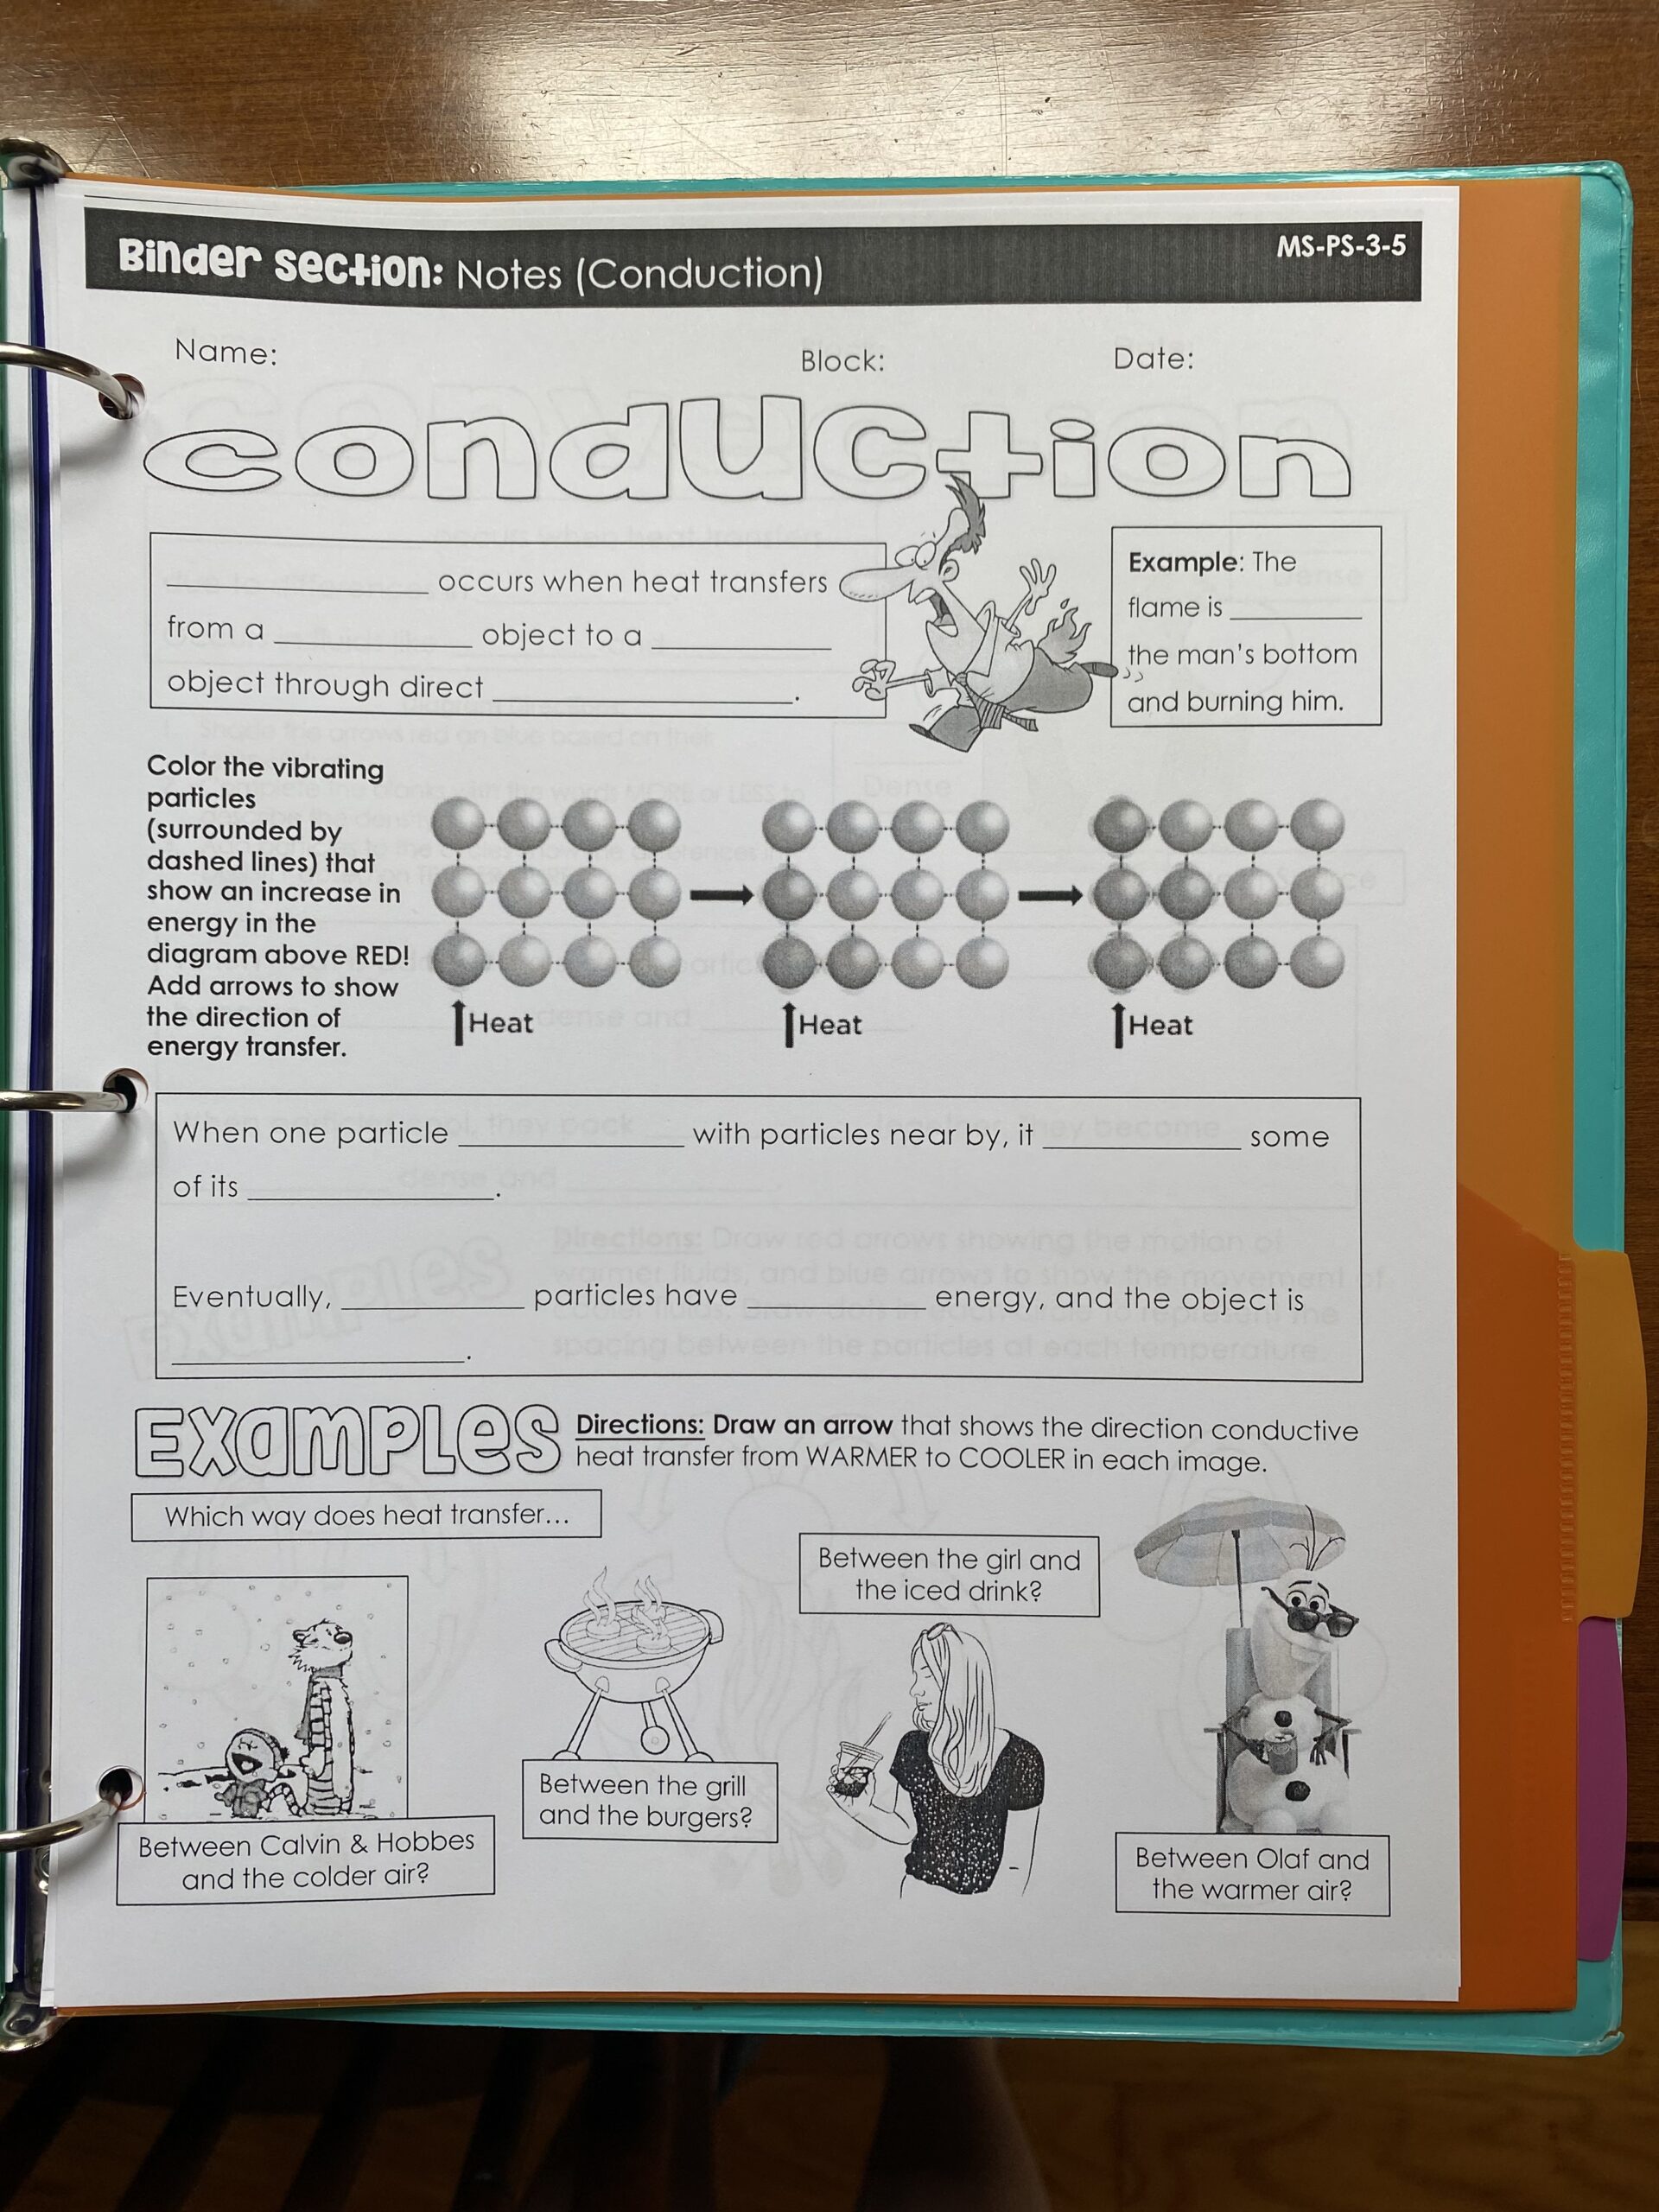
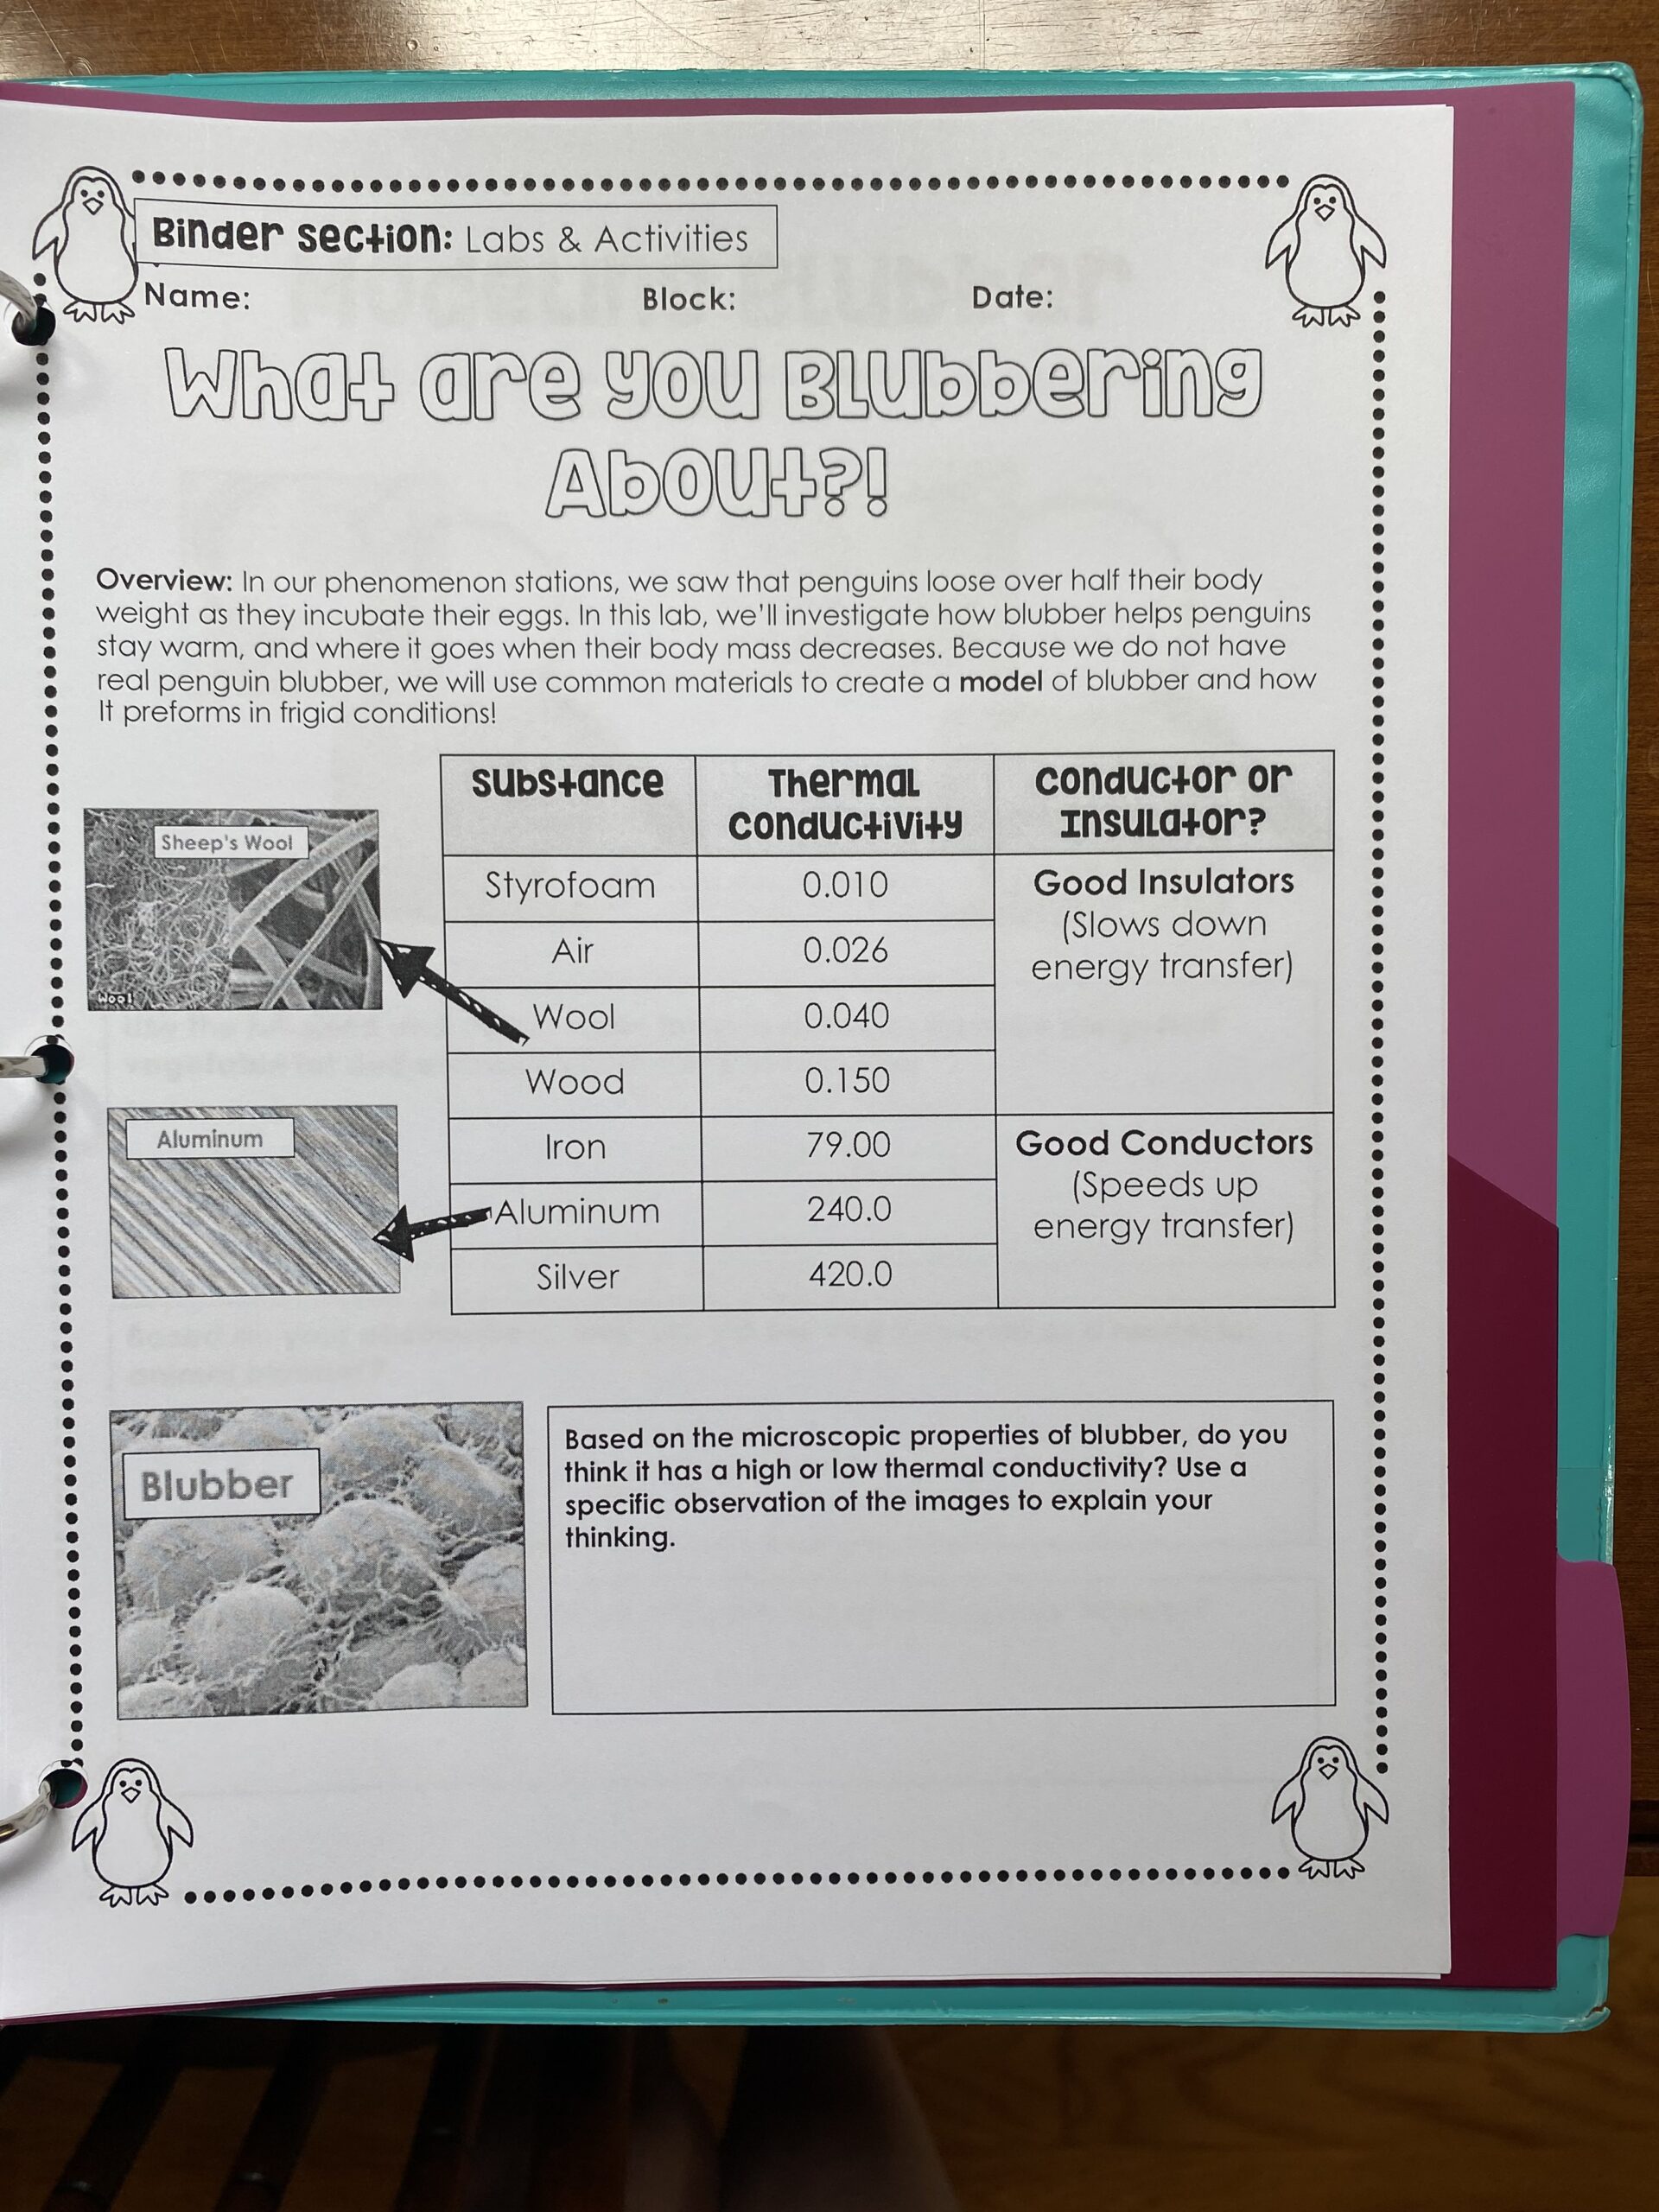
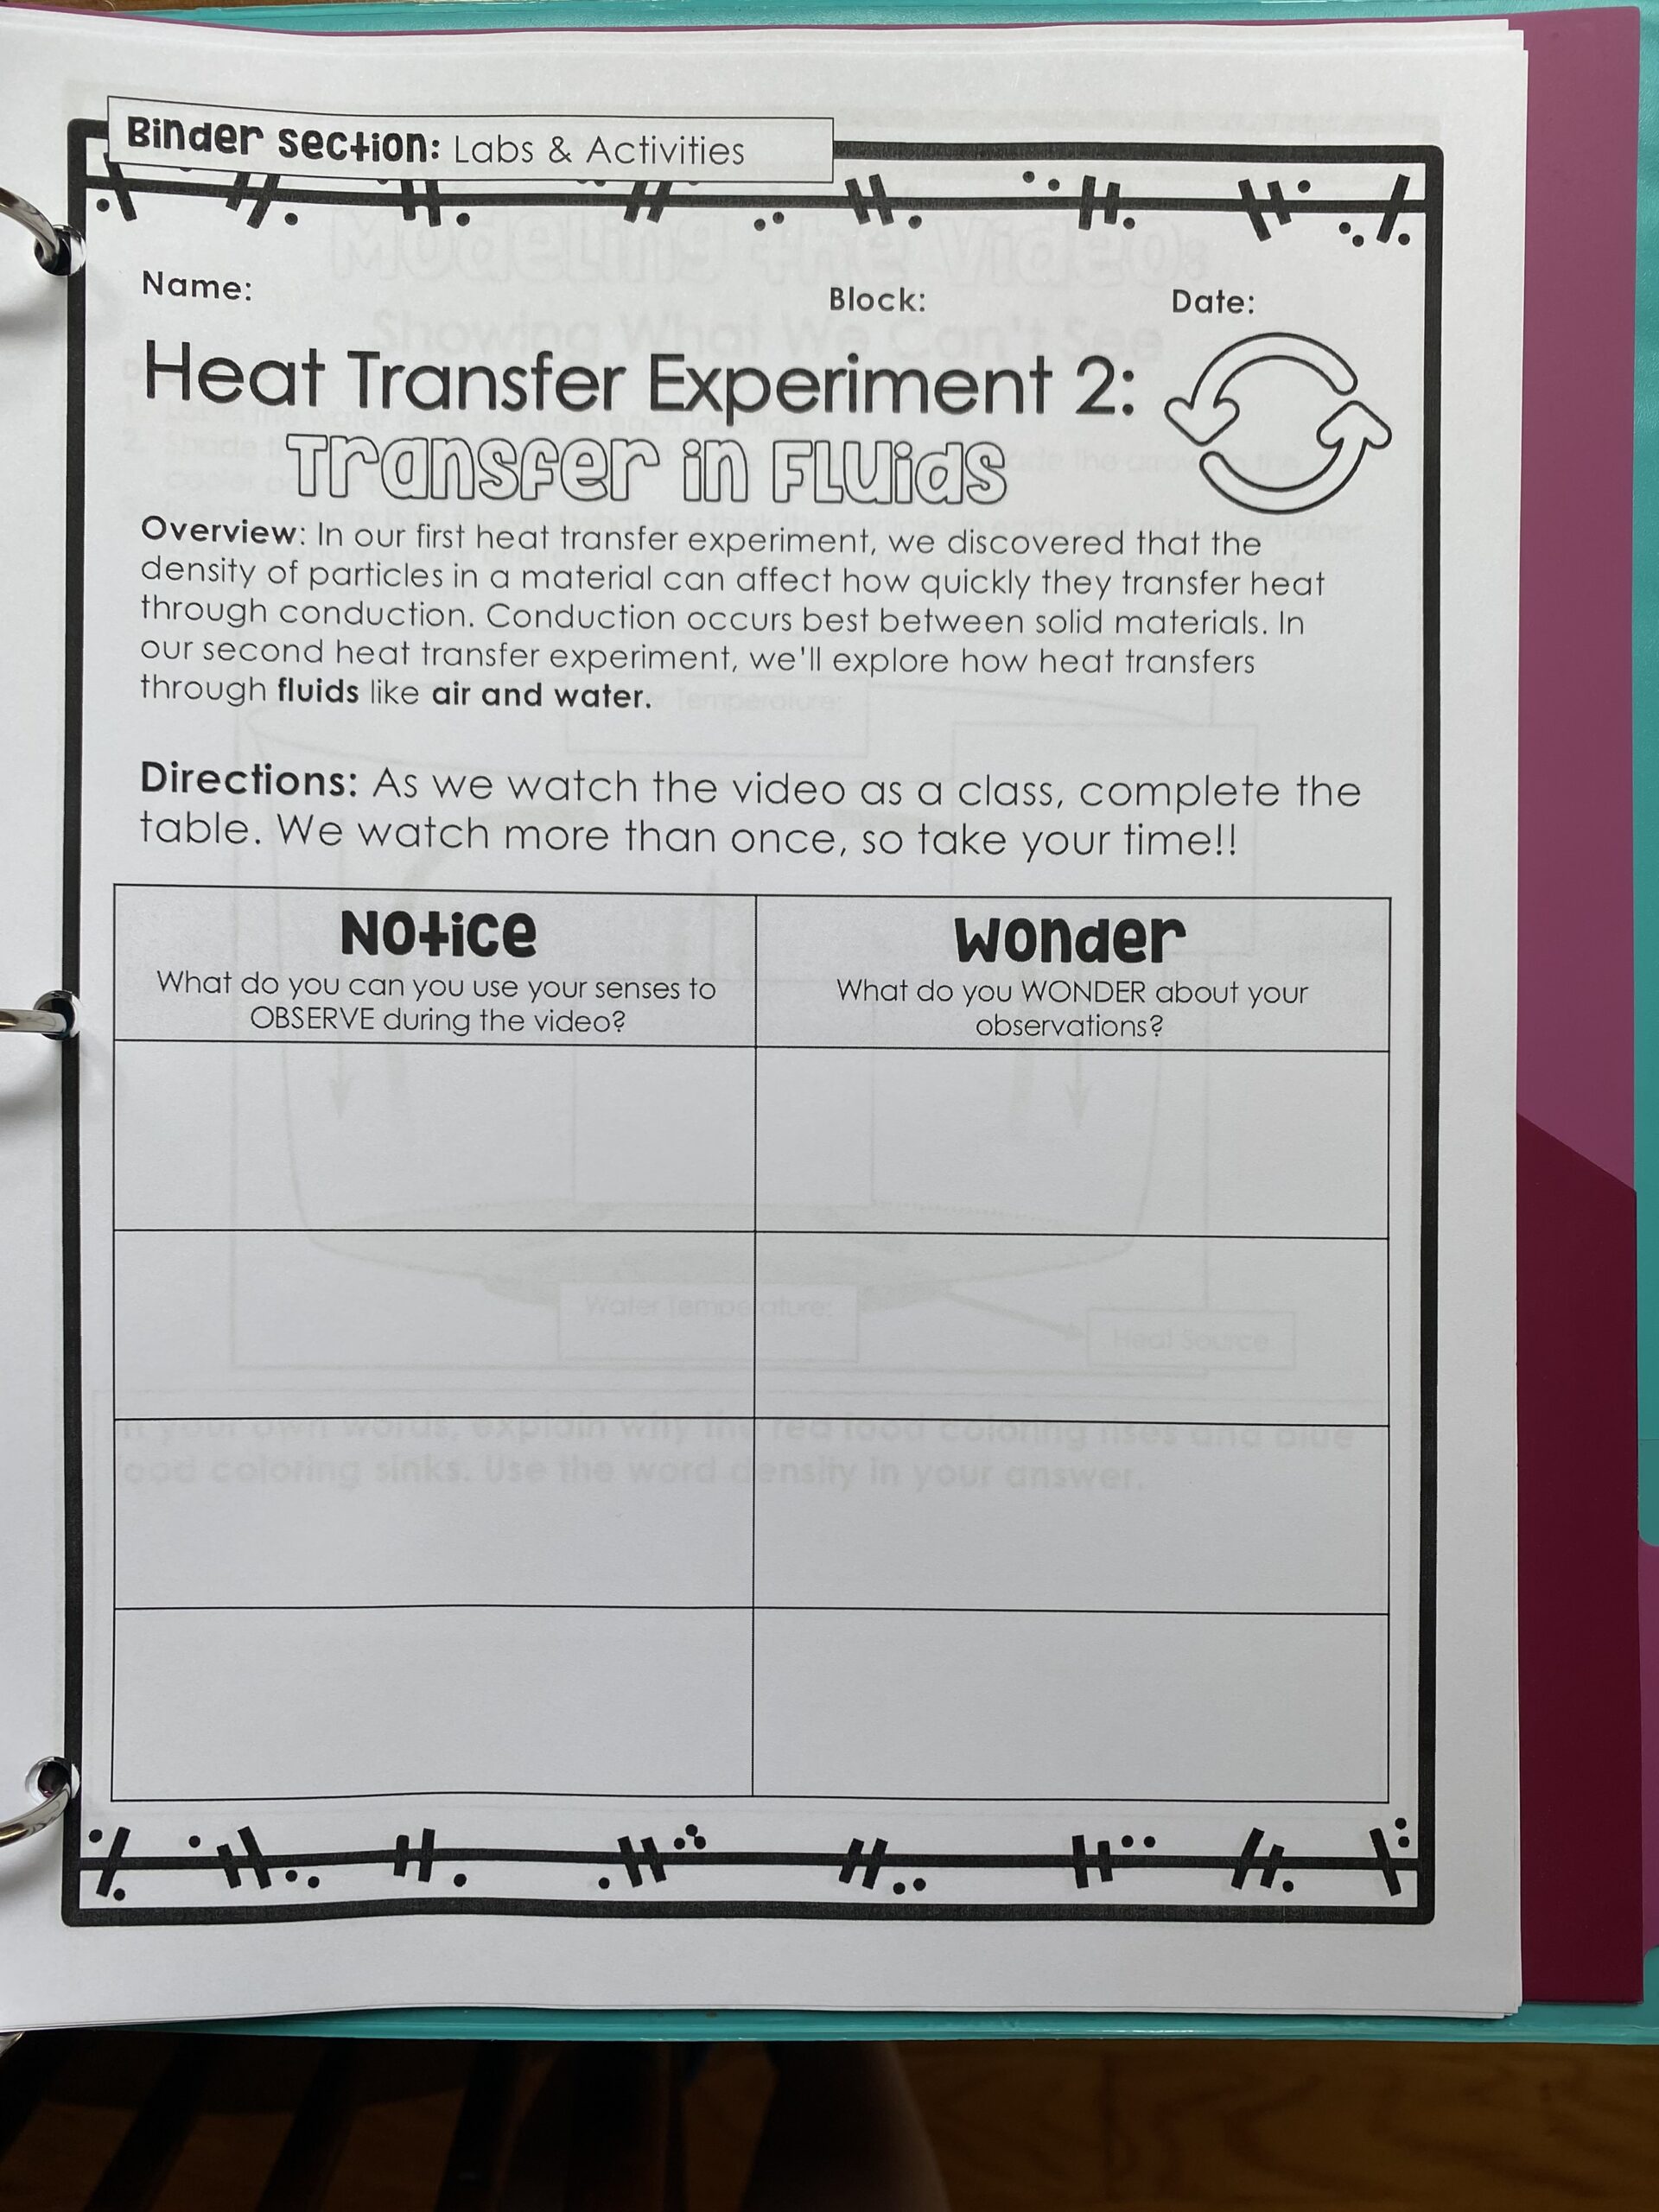
Most copiers are equipped with a hole-punch setting that does the work for you. Ripped holes can be quickly repaired with a reinforcement sticker (better known to my students as binder Band-Aids). Also, there’s no risk of running out of pre-bound sheets of paper. It’s not flawless, but it is quicker and offers more flexibility than the limited number of pages a composition book!
The Takeaway
Maybe interactive notebooks are totally your jam, and maybe you’ve tried them and said never again. There is no one perfect system that will work for every teacher and group of students. The most important thing you can do is embrace the trial and error of finding something that works for your classroom. Just because your favorite edu-influencer’s system isn’t working in your classroom doesn’t mean you’re doing something wrong. It means you’ll need to adapt, modify, and tweak until you’ve perfected your own version. And honestly, that’s what good teaching is all about!
What systems do you use to help students stay organized? Let us know in the comments!
Plus, for more articles like this, be sure to subscribe to our newsletters.
